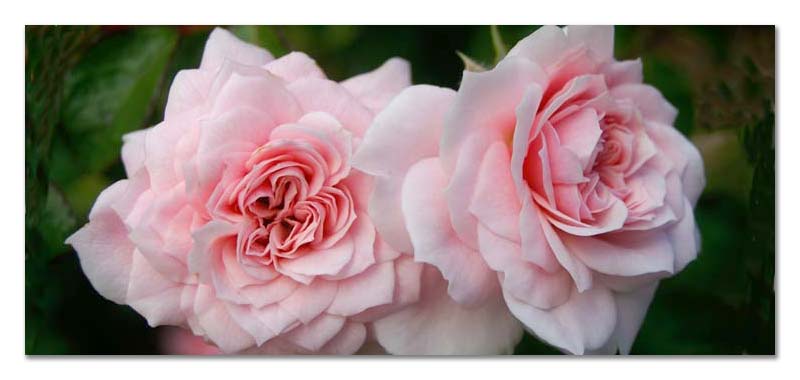
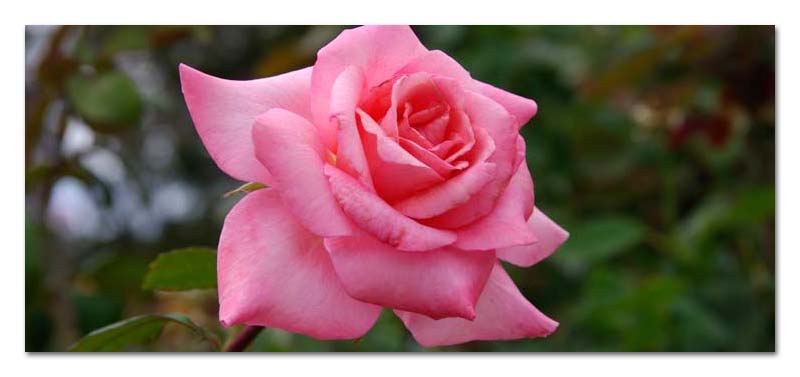
Why prune?
Wild roses were never pruned, yet they evolved magnificently all on their own, so why do we need to prune modern roses? The answer is that you don't have to, but they will grow better for it.
Essentially when you
cut back the live stems it sends a message to the rose to grow some more – it
literally stimulates new growth, which in turn encourages better blooms. You can also use the opportunity to remove dead or diseased stems and really help it grow to optimum shape.
When to Prune?
Generally you should prune in winter while the plant is dormant – in the southern hemisphere that's July to August (later if frosts are common). If your rose is still producing the odd (small) bloom then don’t worry, you can still prune without harming the plant.
N.B. early blooming (late winter, early spring) old fashioned, banksiae, climbing and many rambling roses are best left until after their first flush of blooms – trim back then.
 Tools:
Sharp secateurs should deal with most stems but a
good long handled lopper may be required for older, harder wood, or an
alternative is a pruning saw.
Always
start with clean and sharp tools. The sharper your blades, the cleaner the cut
and the less chance of disease getting into the plant.
Then you'll need to protect yourself - some good gloves are essential, but make sure they're comfortable. They need to be thick enough to protect while being flexible enough to be able to 'feel' what your doing. Good kid leather gloves are best and either wear long sleeves or you can get gauntlet style gloves to protect your forearms.

Overall objective:
What you are aiming to do is to remove about two thirds of its recent
growth, leaving about 4-6 healthy stems that are angled outwards. If the rose is a fast grower and has gone a
bit leggy then you can cut back more, up to three quarters in total.
 Ready, Set, Prune:
#1. Start by giving it a quick haircut all
over – removing about one third of growth.
This is just to make everything easier to get at for the final cuts and of course it is easier to see what you’re doing now.
#2. Start by removing any old, dead, diseased or withered growth
– this should be removed completely, at ground level or directly next to the
main stem.
It is also good to remove any
inward facing stems at this point.
#3. Now all you need to do is to select a healthy stem and
reduce it by another third.
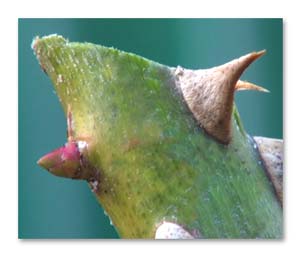 Cut just above an outward facing node (bud), this ensures the new growth angles outwards
ensuring there will be plenty of air able to circulate in the centre of the shrub and therefore
reduce the liklihood of fungal attacks.
Cut just above an outward facing node (bud), this ensures the new growth angles outwards
ensuring there will be plenty of air able to circulate in the centre of the shrub and therefore
reduce the liklihood of fungal attacks.
Make your cuts about 5mm above the bud at a 45 degree angle – with the
angle of the cut always sloping inwards towards the centre of the bush.
So, bud out / angle in, the reason being to keep rainwater away from the bud to avoid it rotting.
Repeat this for the other five or so other stems you will be keeping.
#4. What you end up with should be a vase shaped plant with
plenty of space in the centre – all stems and new buds angled outwards.
 Post Pruning:
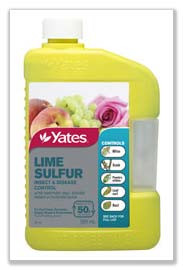
Remove all dead foliage and debris from around the base and
mix up some lime sulphur to spray the stems and surrounding soil, which will
prevent fungus growth.
But avoid any new
shoots – the lime sulphur will burn them and retard new growth.
Finally top up your mulch.
If you have had fungal problems in the previous year then
completely replace your mulch and don’t put it on the compost but put it in
your garden waste bin to get it off the premises completely.
We recommend tea-tree mulch, its not the cheapest and it has a faintly unpleasant odour for the first week, but it mats together perfectly so won't blow away and weeds have the devil's own job in pushing through it.
And of course it looks very good too - setting off your prize blooms to perfection.
N.B. All tools detailed in this article, along with a wide range of alternative choices are available for purchase from the Handtools segment of the GardensOnline Shop